
Speedy Repair Techniques for When the Camera Option Vanishes From PC's Device Manager
Relative Roughness (Ε/D) Is a Critical Parameter Along with Reynolds Number when Using the Moody Chart
Are you still using Windows 7 on your computer? It’s time to upgrade to Windows 10. You’ve probably seen the Windows 7 end of support notification thousand times since April. This article is going to help you along the journey toupgrade Windows 7 to Windows 10 . Read on and go with the details below.
The reason to upgrade from Windows 7 to Windows 10
According to Microsoft, they willend the support for Windows 7 from January 14, 2020 . So what does that mean?
When Windows 7 reaches the end of support, Microsoft will no longer provide any technical support for any issues, software updates and security updates or fixes for your Windows 7 computer. That will put your computer at grater risk for viruses and malware if you choose to continue using Windows 7. So, to stay secure, your best bet is to upgrade Windows 7 to Windows 10.
Before the upgrade…
Before starting to perform the upgrade, you’ll need to:
- Check if your Windows 7 computer meets the requirements of upgrade
Below are the minimum hardware requirements for Windows 10:
| Component | Requirement |
|---|---|
| Processor | A 1-gigahertz (GHz) or faster processor |
| Memory | 1 gigabyte (GB) or RAM on 32-bit versions and 2 GB for 64-bit versions |
| Hard disk space | 16 GB for 32-bit versions and 20 GB for 64-bit versions |
| Graphics card | DirectX 9 or later with a Windows Display Driver Model (WDDM) 1.0 driver |
| Display resolution | 800×600 pixels |
That would be great if your Windows 7 computer exceeds the minimum specifications. In that case, you may get the best from Windows 10.
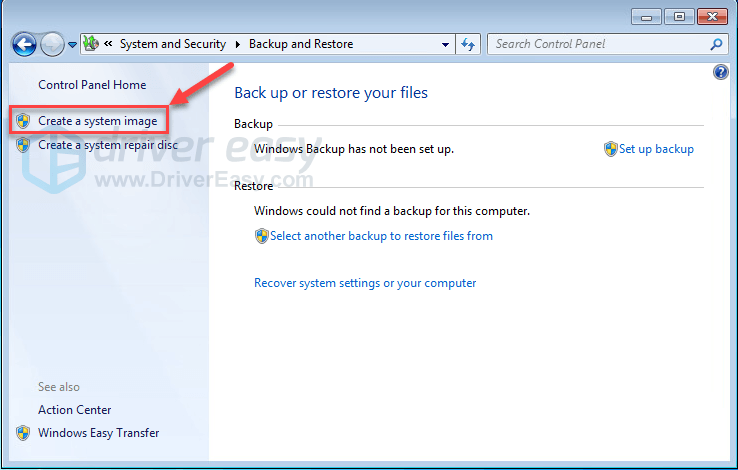
2)Create a full backup of your Windows 7 computer
In case something goes wrong during the upgrade process, please make a full backup of your Windows 10 computer. You can simply do that bycreating a system image .
Additionally, the below upgrade process will format the drive which you plan to install the Windows 10 system. So don’t keep any important files on that drive.
3)Obtain your product key
Although the offer of free upgrade to Windows 10 expired on July 29, 2016 when Windows 10 first released, you can still use your current genuine Windows 7 key to activate Windows 10.
But if you don’t have a genuine Windows 7 key, purchase a new Windows 10 key.

How do I upgrade Windows 7 to Windows 10?
Once you get ready for upgrading to Windows 10, follow the step-by-step guide to download and install Windows 10 on your Window s 7 computer.
Part 1: Create Windows 10 installation media
You’ll need a blank USB flash drive with at least 8GB of space to store the Windows 10 installation file.
- Plug your prepared USB drive into your Windows 7 computer.
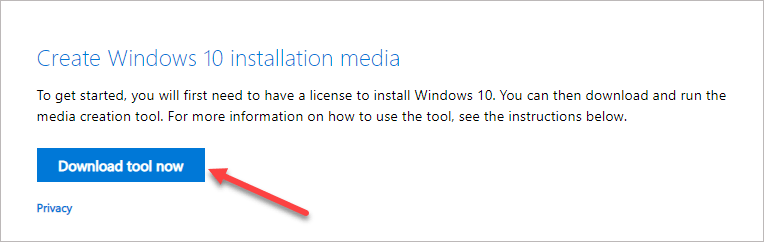
- Go to the officialMicrosoft Windows 10 download website .
- ClickDownload tool now .

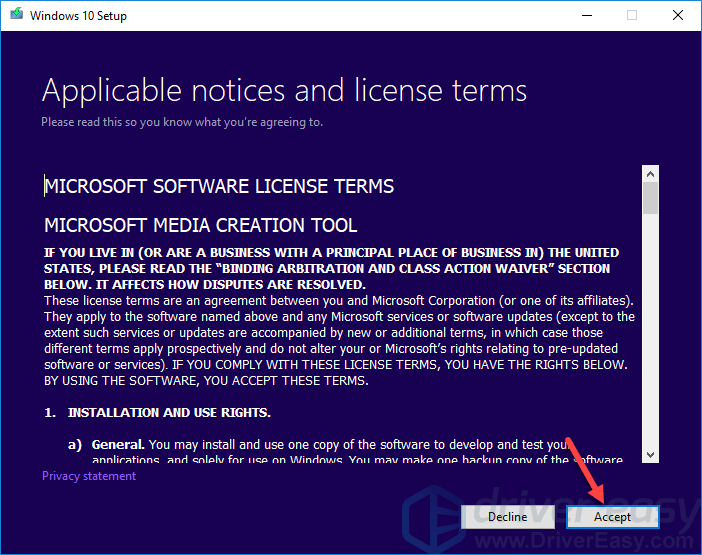
- Double-click the downloaded file. Then clickYes when prompted by User Account Control.
- ClickAccept to agree the license terms.
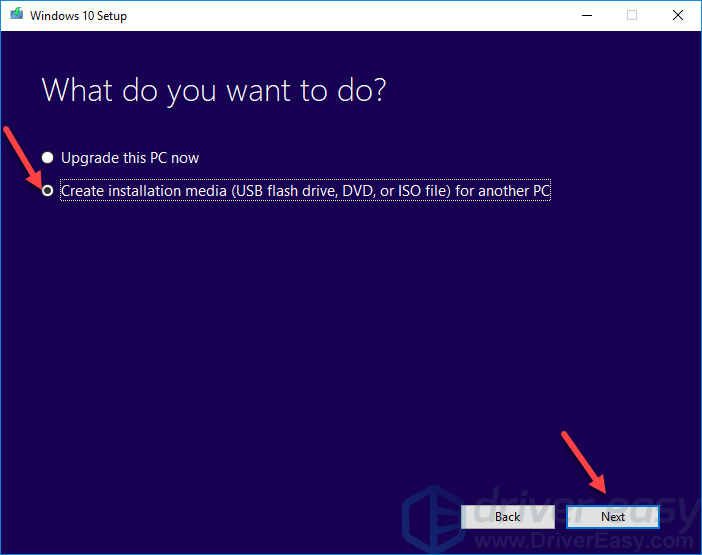
- You’ll then see the What do you want to do page. Select Create installation media(USB flash drive, DVD, or ISO file) for another PC .
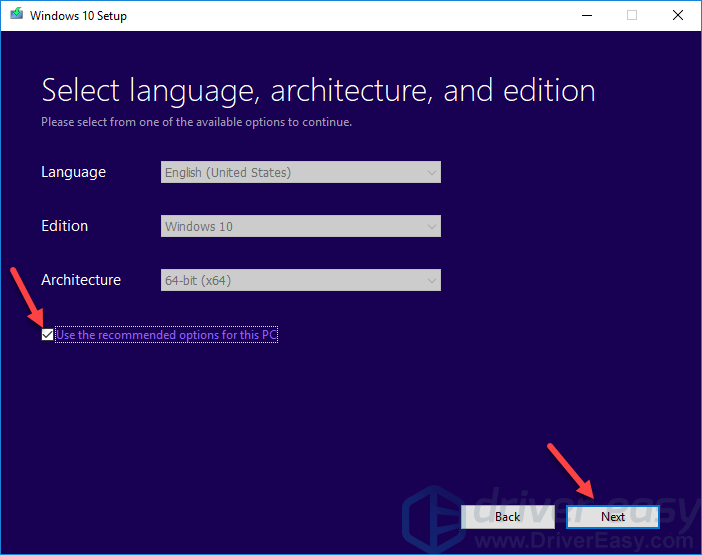
- ClickNext if you accept to use the recommended options. If you want to change the option, unselect Use the recommended options for this PC, then set your preferred options and click Next to proceed.
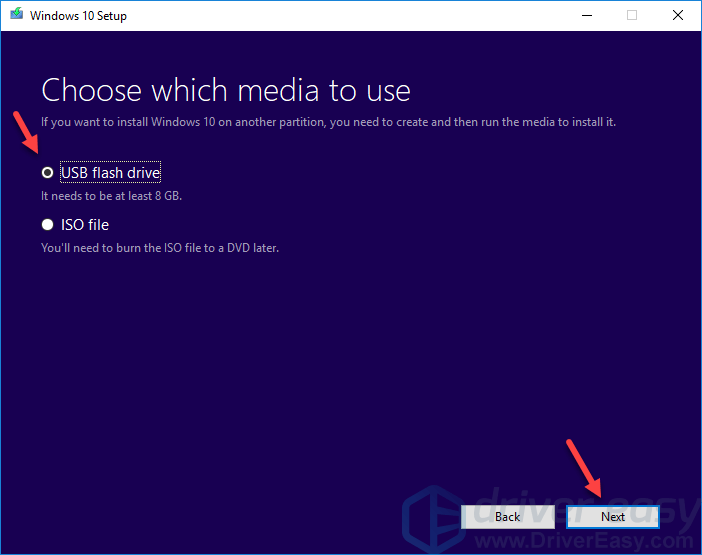
- ClickNext with the default selected option USB flash drive on the Choose which media to use page. Tick USB flash drive if it’s not selected.
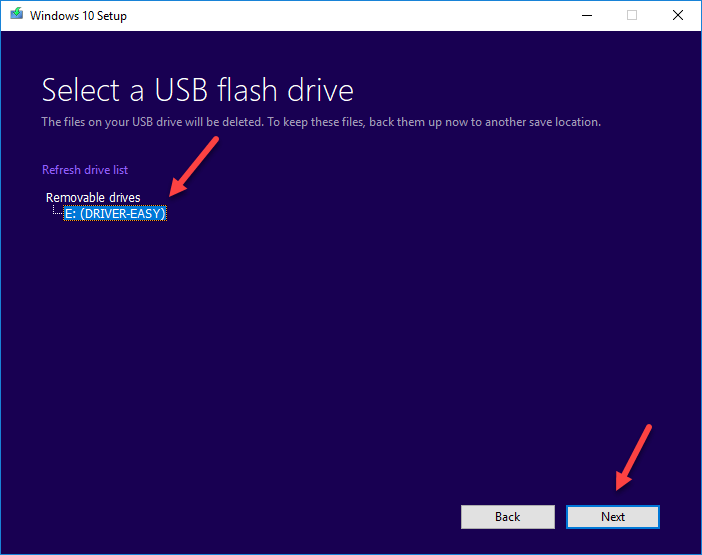
- Select your USB drive from the list, then clickNext .
- It’ll then start downloading Windows 10 ISO file and creating Windows 10 media onto your USB drive. The process may last around 10 minutes. Click Finish on the Your USB flash drive is ready page.
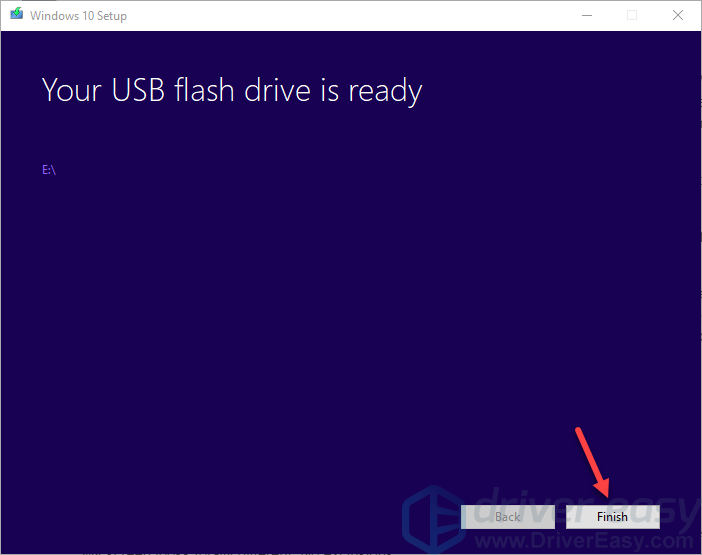
Now you’ve burnt Windows 10 ISO file to the USB flash drive. Follow along the next part to install Windows 10 on your computer.

Part 2: Install Windows 10 on your Windows 7 computer
Plug your USB flash drive into your Windows 7 computer. If you’re using the same computer, then just leave your USB flash drive in the USB port.
- Restart your computer and continuously pressF2 to boot intoBIOS .
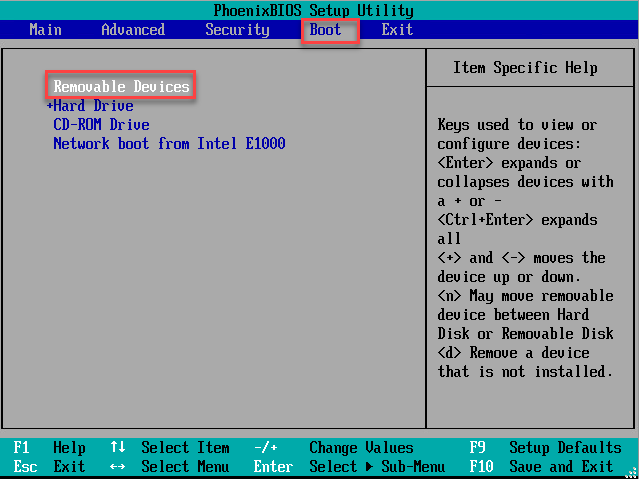
- Press theright arrow key to select theBoot pane.
- Under the Boot pane, find your USB flash drive’s section, it may beRemovable Devices ,USB HDD or something like that. Change the section to the top of the boot order list.
If you have different USB devices connected to your computer, make sure your USB flash drive is listed 1st of the section.
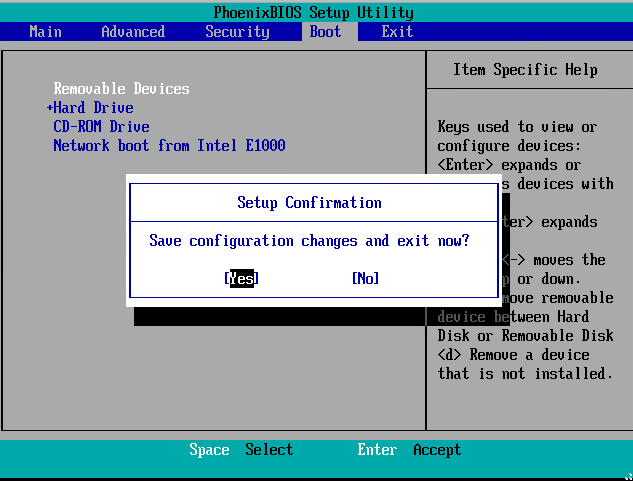
- PressF10 to save your setting and exit BIOS. Then pressEnter with Yes selected.
Epubor Ultimate for Win:Helps you read books anywhere, including the best eBook Converter + eBook DRM Removal functions. - Your computer will restart and boot from your USB flash drive.
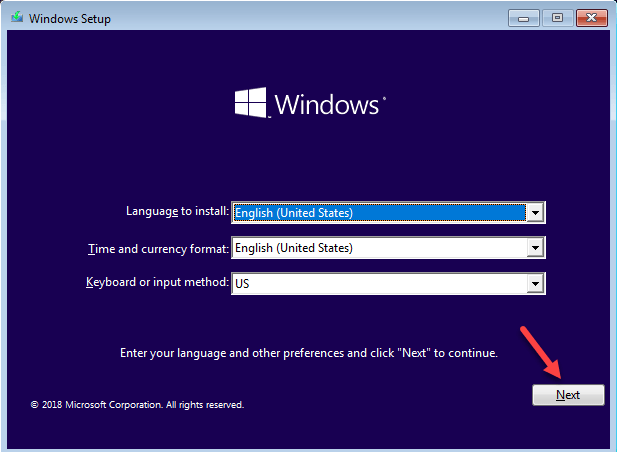
- Set the language, time format and keyboard method, then clickNext .
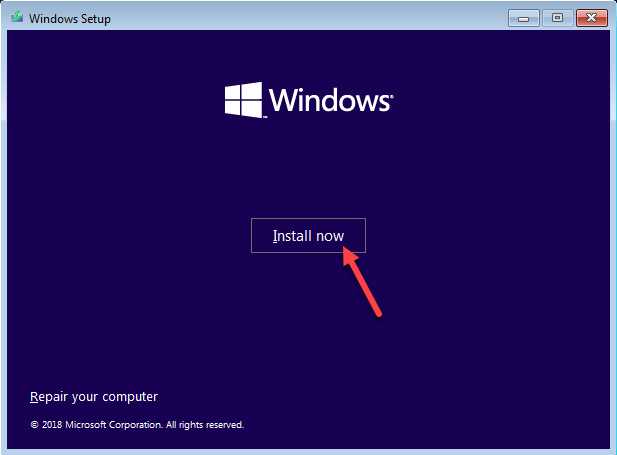
- Click Install now.
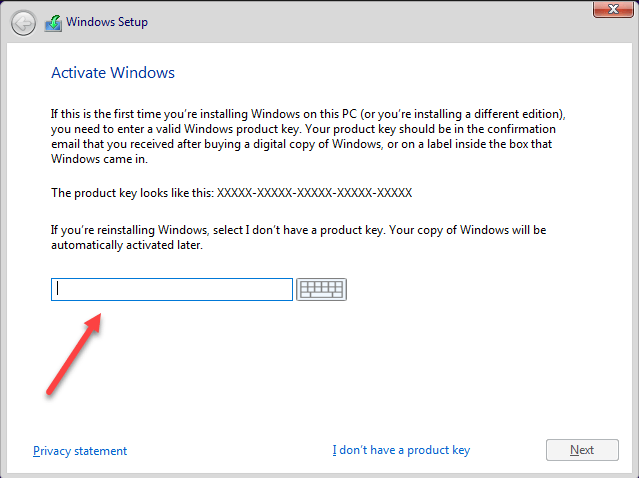
- Enter your product key.
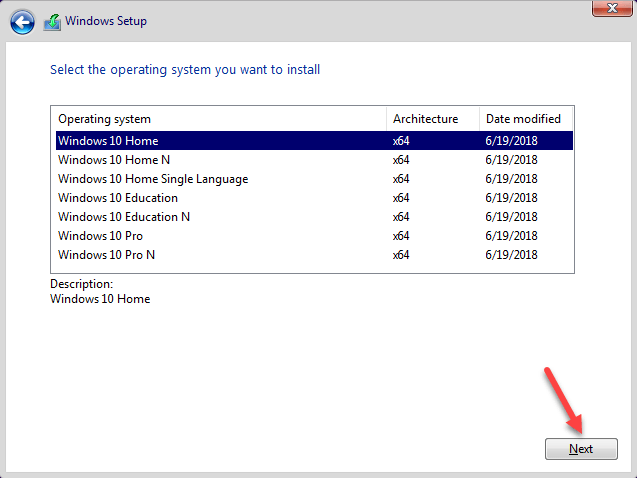
- Choose theWindows 10 edition according to your product key type. Then clickNext .
Easy GIF Animator is a powerful animated GIF editor and the top tool for creating animated pictures, banners, buttons and GIF videos. You get extensive animation editing features, animation effects, unmatched image quality and optimization for the web. No other GIF animation software matches our features and ease of use, that’s why Easy GIF Animator is so popular.
- Tick onI accept the license terms . Then clickNext .
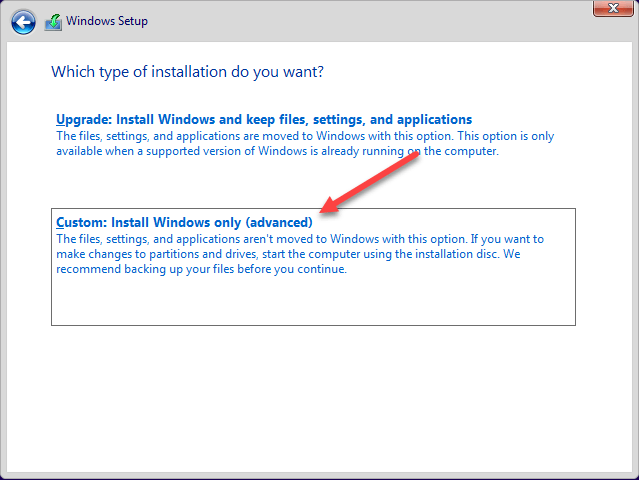
- ClickCustom: Install Windows only(advanced) .
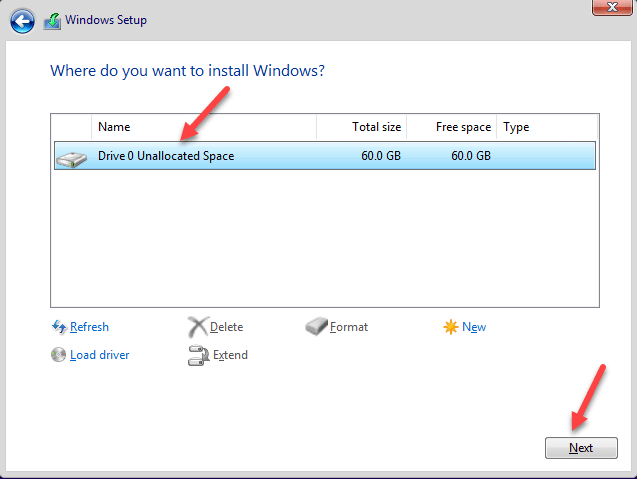
- Select the drive which you plan to install the system. Then clickNext .
Windows should then start to be installing onto your computer.
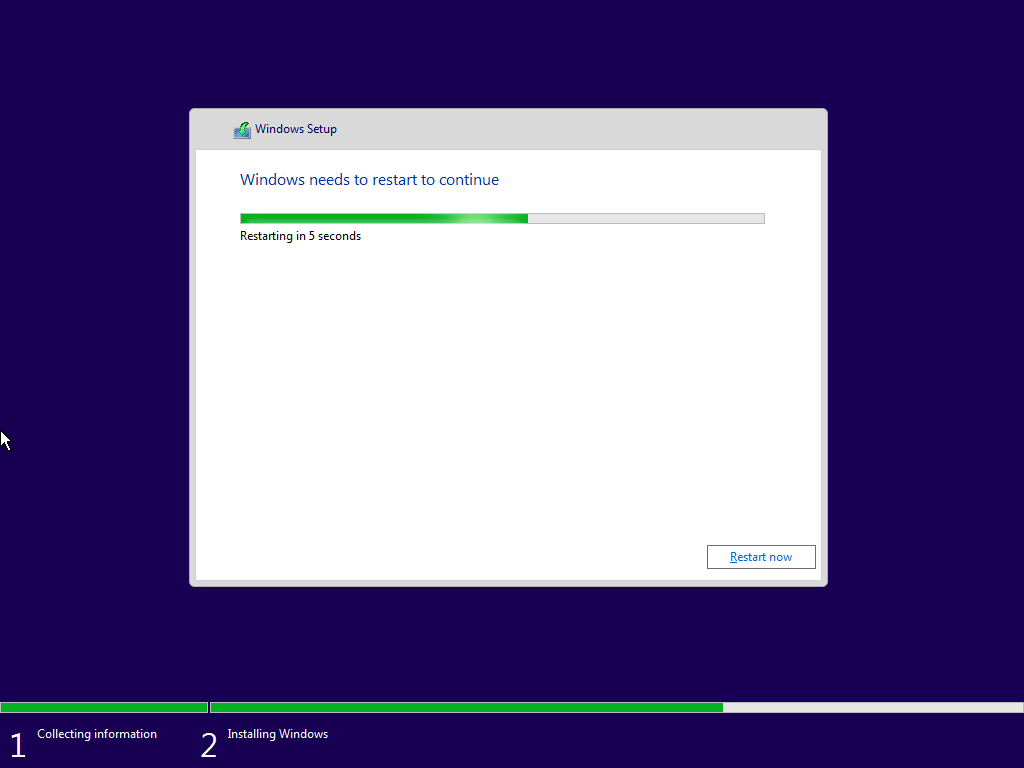
Important: Remove your USB flash drive when you see the Windows needs to restart to continue page.
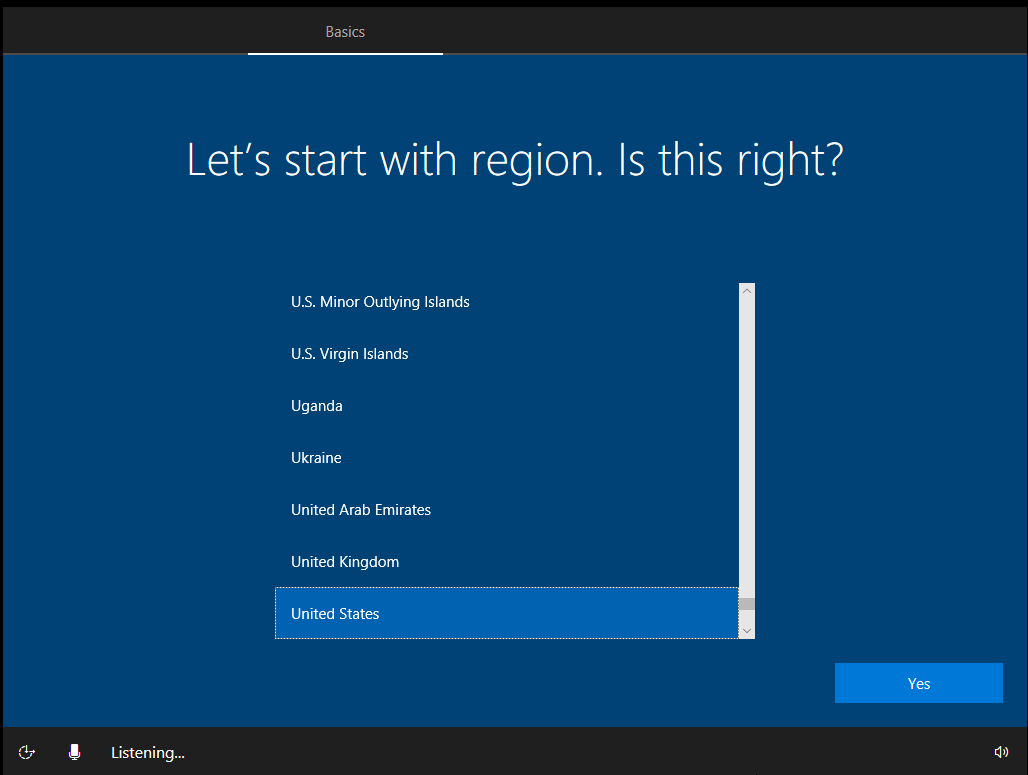
Till now, the Windows 10 is almost installed on your computer. - Follow the on-screen OOBE(Out-of-Box-Experience) instructions to set up Windows 10 on your computer. The setup includes but not only like Cortana and region settings.
 Easy GIF Animator is a powerful animated GIF editor and the top tool for creating animated pictures, banners, buttons and GIF videos. You get extensive animation editing features, animation effects, unmatched image quality and optimization for the web. No other GIF animation software matches our features and ease of use, that’s why Easy GIF Animator is so popular.
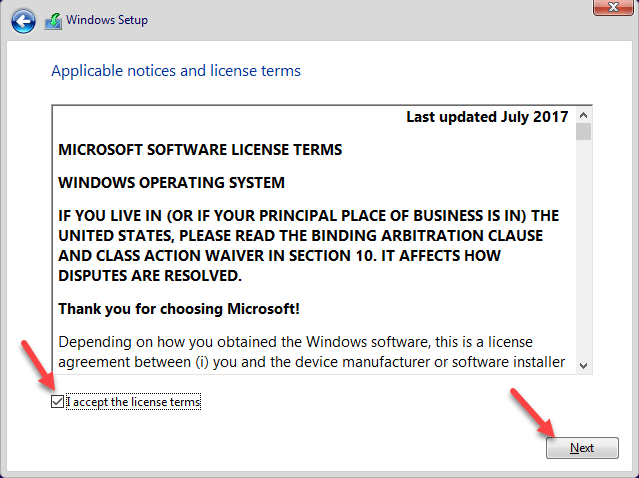


After the basic setup, your Windows 7 computer has successfully upgraded to Windows 10. You’re able to download your frequent using apps and start enjoying Windows 10.
What you might concern after the upgrade…
Before enjoying Windows 10, we highly recommendinstalling the latest drivers for your computer to have the best experience.
A device driver enables Windows 10 to communicate successfully with the device connected to your computer. If the driver is old, outdated or missing, you won’t be able to use the device on your Windows 10 computer. On a clean-installed Windows 10 system, there’s a great chance that there would be some drivers you need to update to their latest version.
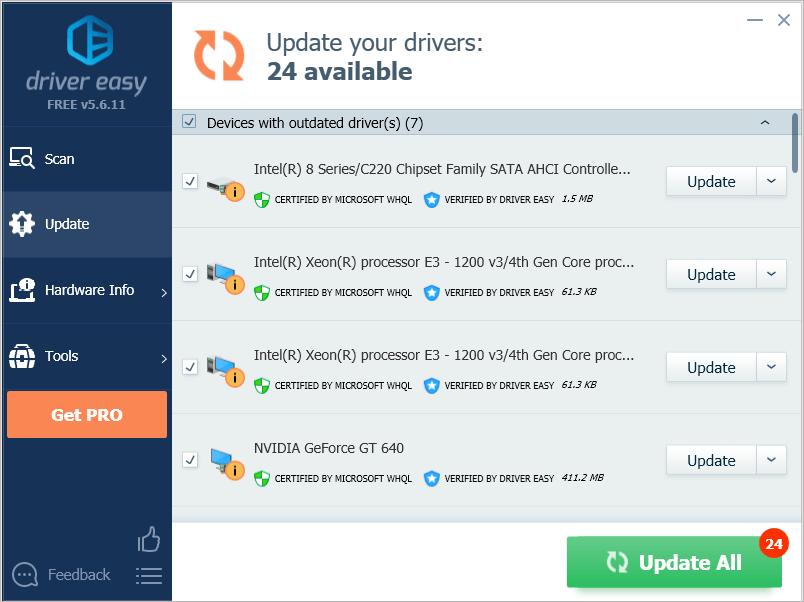
You may need to verify your drivers one by one in Device Manager, and update those that don’t have the latest drivers. If you don’t have the time, patience or computer skills to update the drivers manually, you can do it automatically withDriver Easy . It’s a tool that detects, downloads and (if you goPro ) installs any driver updates your computer needs.
To update your drivers with Driver Easy, just click theScan Now button, then when it lists the drivers you need to update, clickUpdate . The correct drivers will be downloaded, and you can install them –either manually through Windows or all automatically withDriver Easy Pro .
That’s all there is to it. Did you successfully upgrade your computer from Windows 7 to Windows 10? Feel free to comment below with any questions. I’d be glad to help you out of them.
- Title: Speedy Repair Techniques for When the Camera Option Vanishes From PC's Device Manager
- Author: Robert
- Created at : 2024-08-18 21:15:07
- Updated at : 2024-08-19 21:15:07
- Link: https://techtrends.techidaily.com/speedy-repair-techniques-for-when-the-camera-option-vanishes-from-pcs-device-manager/
- License: This work is licensed under CC BY-NC-SA 4.0.